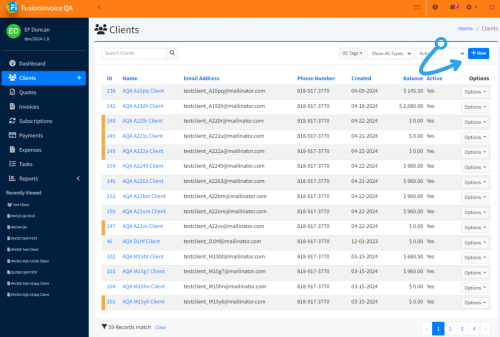
Adding a Client
- Open the Clients Section
Navigate to the Clients menu item from the main navigation bar and click the New button. This opens the Client Form where you can enter information about your new client.
2. Complete the Client Fields
On the Client Form screen, provide the client’s details and contact information. You have two options for entering addresses:
-
Single Address Field: Enter the entire address (street, city, state, postal code, country) into the single Address field. This method offers flexible formatting if you need to present the address in a particular style.
-
Separate Address Fields: Use the individual fields for address, city, state, postal code, and country. This method stores each part of the address separately, which can be useful if you need to filter, sort, or otherwise manage these components individually.
Tip: Choose one address entry method (single field or separate fields) and use it consistently across all your clients.
If you’d like to let the client log in to pay invoices, view quotes, or access past documents, you can provide them with a Client Center login. For more information, refer to the how do I create logins for my clients. guide.
3. Save the Client
Once you’ve entered all necessary information, click the Save button. Your new client record is now complete and ready for use.

